Character customization has always been at the heart of sandbox gaming, and Hytale takes this to the next level. Unlike Minecraft's 2D texture-based skins, Hytale introduces a sophisticated 3D modeling system that allows for incredible depth and creativity.
What Makes Hytale Skins Different?
Hytale skins are built on top of 3D base models (.blockymodel format) rather than simple flat textures. This means you're not just changing colors—you're working with a genuine 3D character that supports modular customization. You can attach various cosmetic elements to your base skin, including different eye styles, ears, facial hair, eyebrows, mouth shapes, and much more.
Important Note: Currently, custom Hytale skins can only be used in your own world or private server. For multiplayer servers, the server owner will need to either create a mod or manually upload your skin files to their server infrastructure to support custom models.
What You'll Learn
By the end of this guide, you'll know how to:
- Set up Blockbench with Hytale support
- Import and work with the official player model template
- Paint and customize your character's appearance
- Export your creation for use in-game and sharing with the community
Let's get started!
Step 1: Download & Install Blockbench
Blockbench is the official 3D modeling tool used by the Hytale development team and modding community. It's a powerful, free application that supports multiple game formats, including Hytale's native .blockymodel and .blockyanim formats.
Download Blockbench from their official website: https://www.blockbench.net/downloads
The application is available for Windows, macOS, and Linux. Choose the version that matches your operating system and follow the standard installation process.
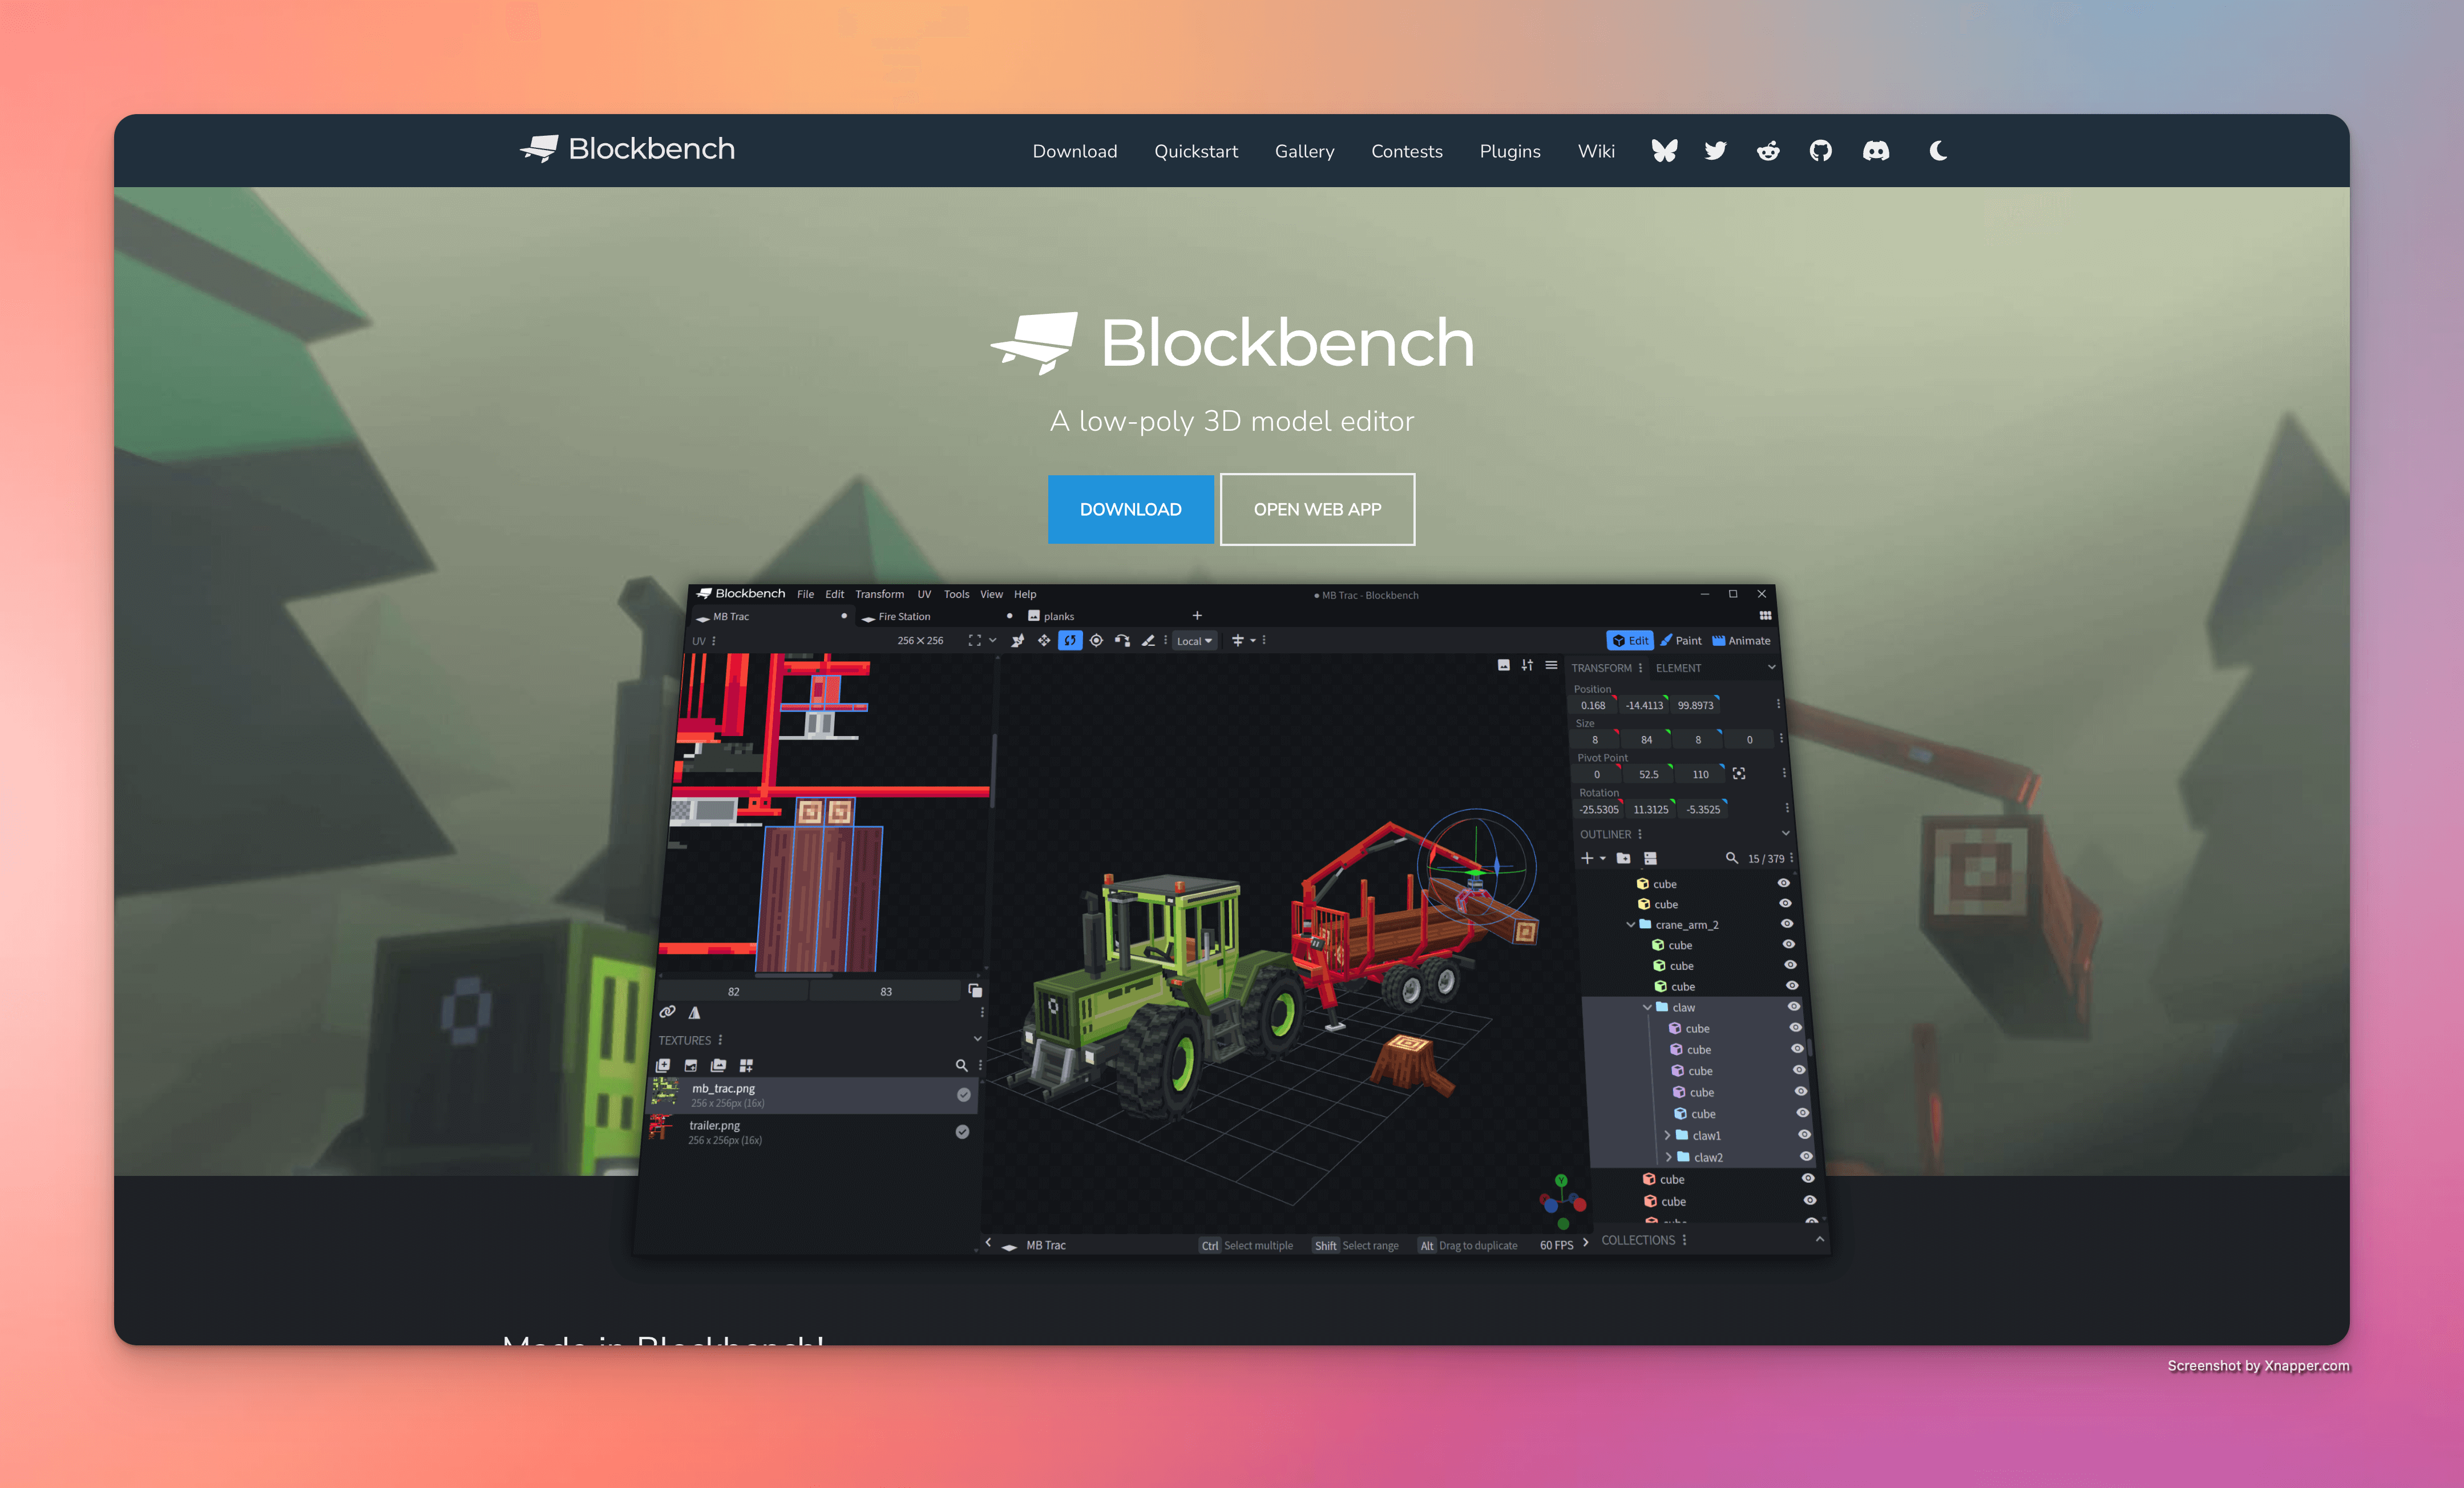
Pro Tip: Blockbench also offers a web-based version if you prefer not to install software, though the desktop version provides better performance and offline access.
Step 2: Install the Hytale Models Plugin
Once Blockbench is installed, you'll need to add official Hytale format support through the Hytale Models plugin. This plugin enables you to create and edit models using Hytale's specific structure and export them in the correct format.
Here's how to install it:
1. Launch Blockbench 2. Navigate to File > Plugins… in the menu bar
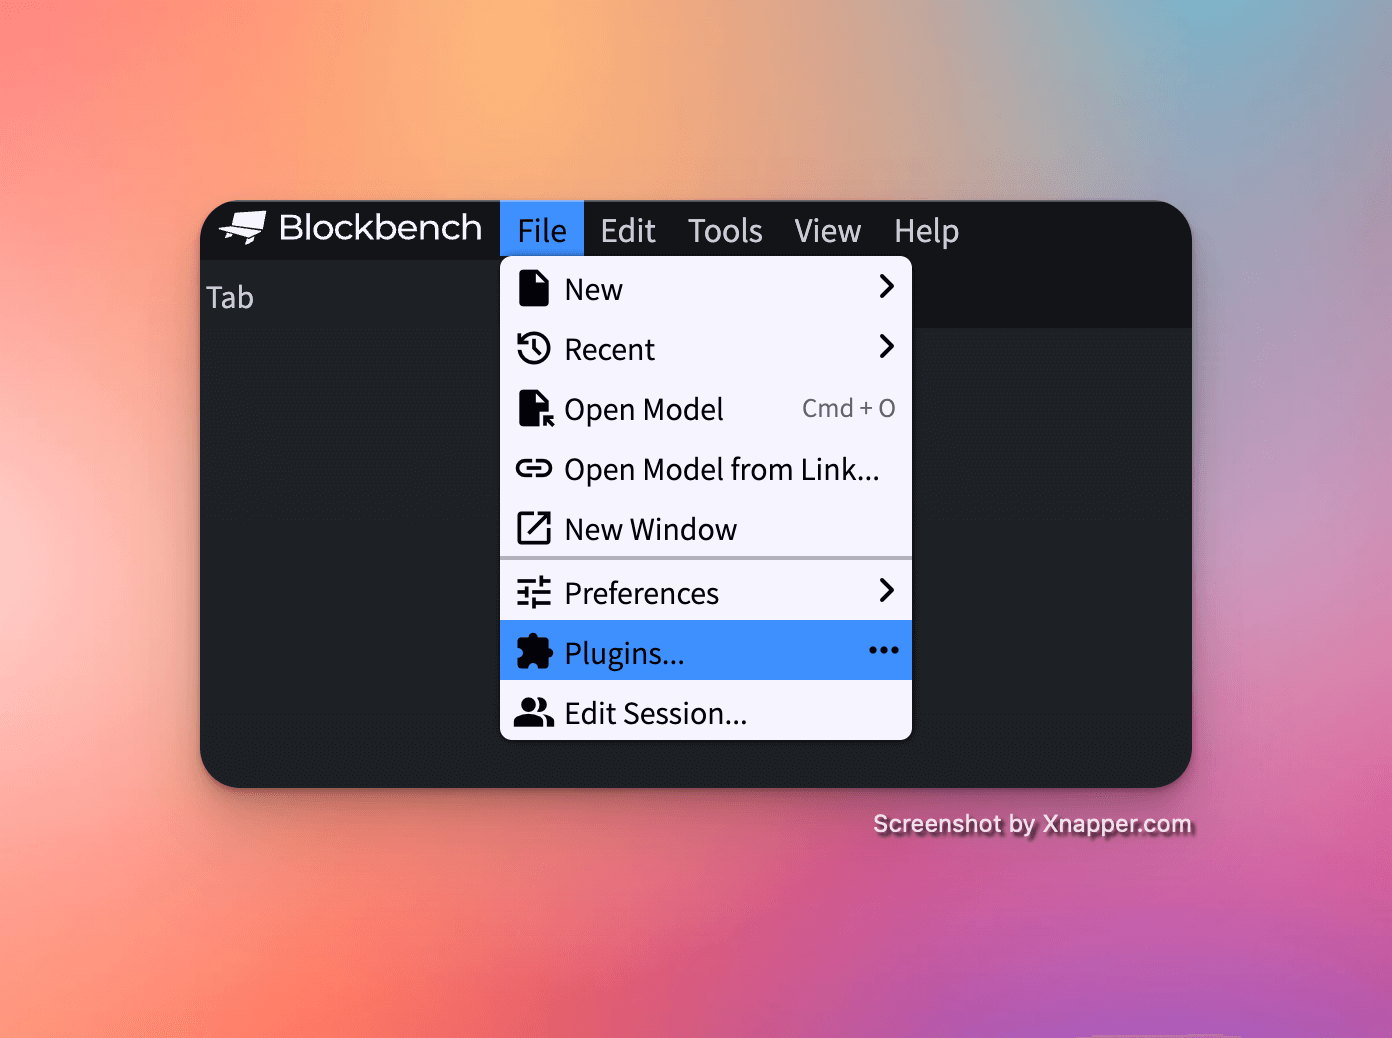
3. In the plugins marketplace window, use the search bar to find "Hytale Models" 4. Click the Install button in the top-right corner of the plugin card
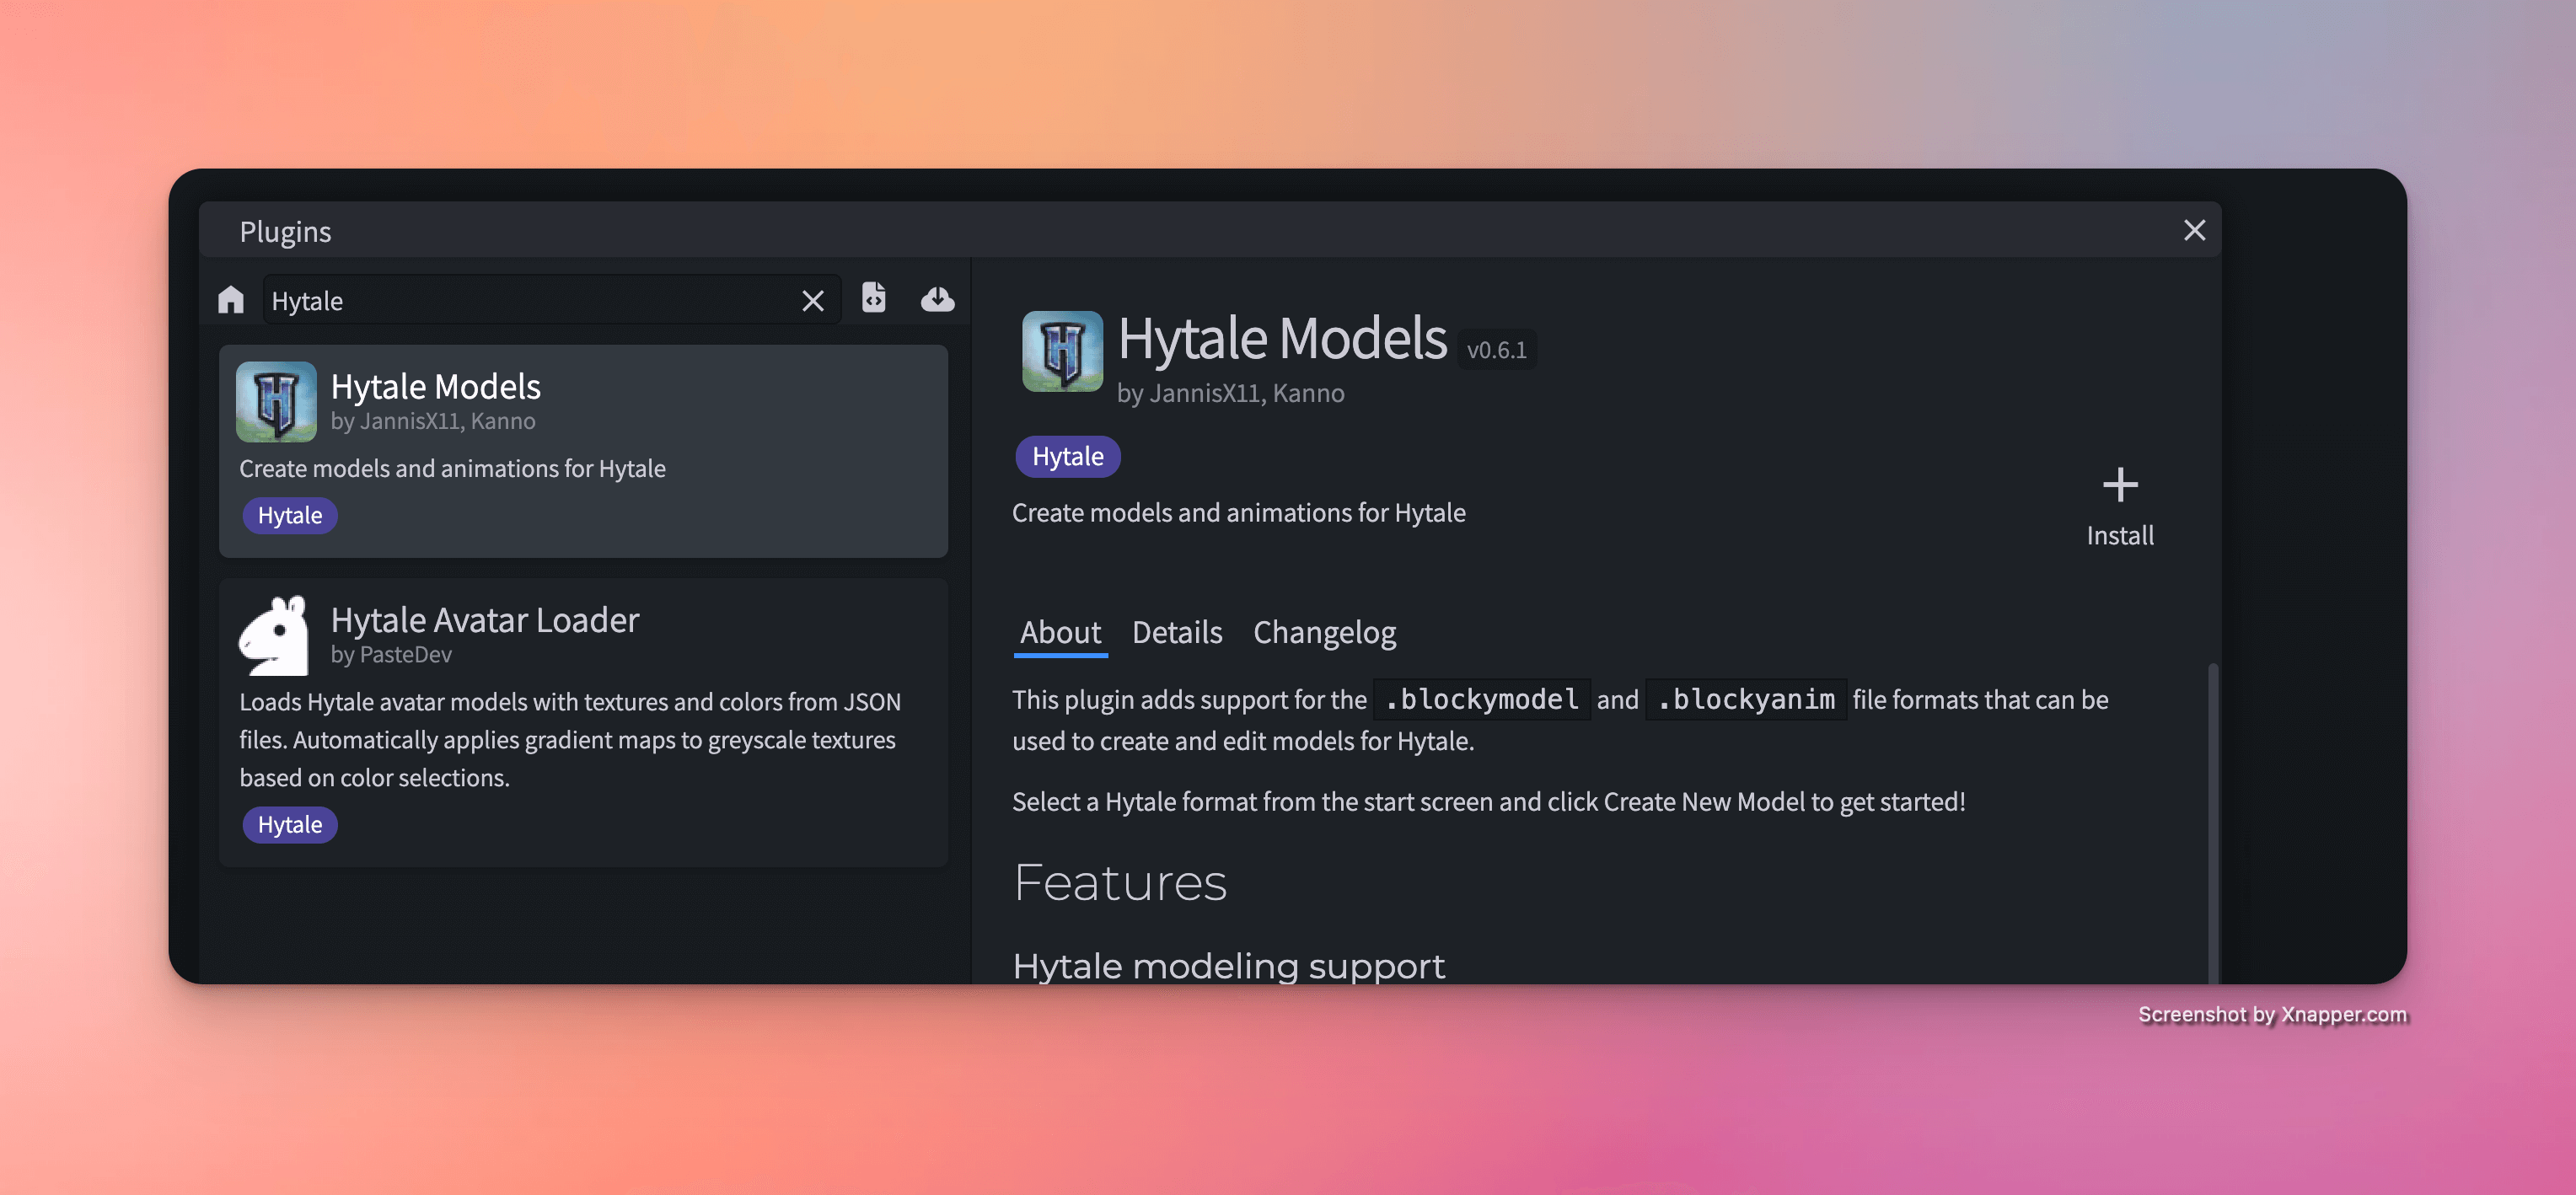
After installation, you may need to restart Blockbench for the plugin to fully activate. You'll know it's working when you see Hytale format options in the File menu.
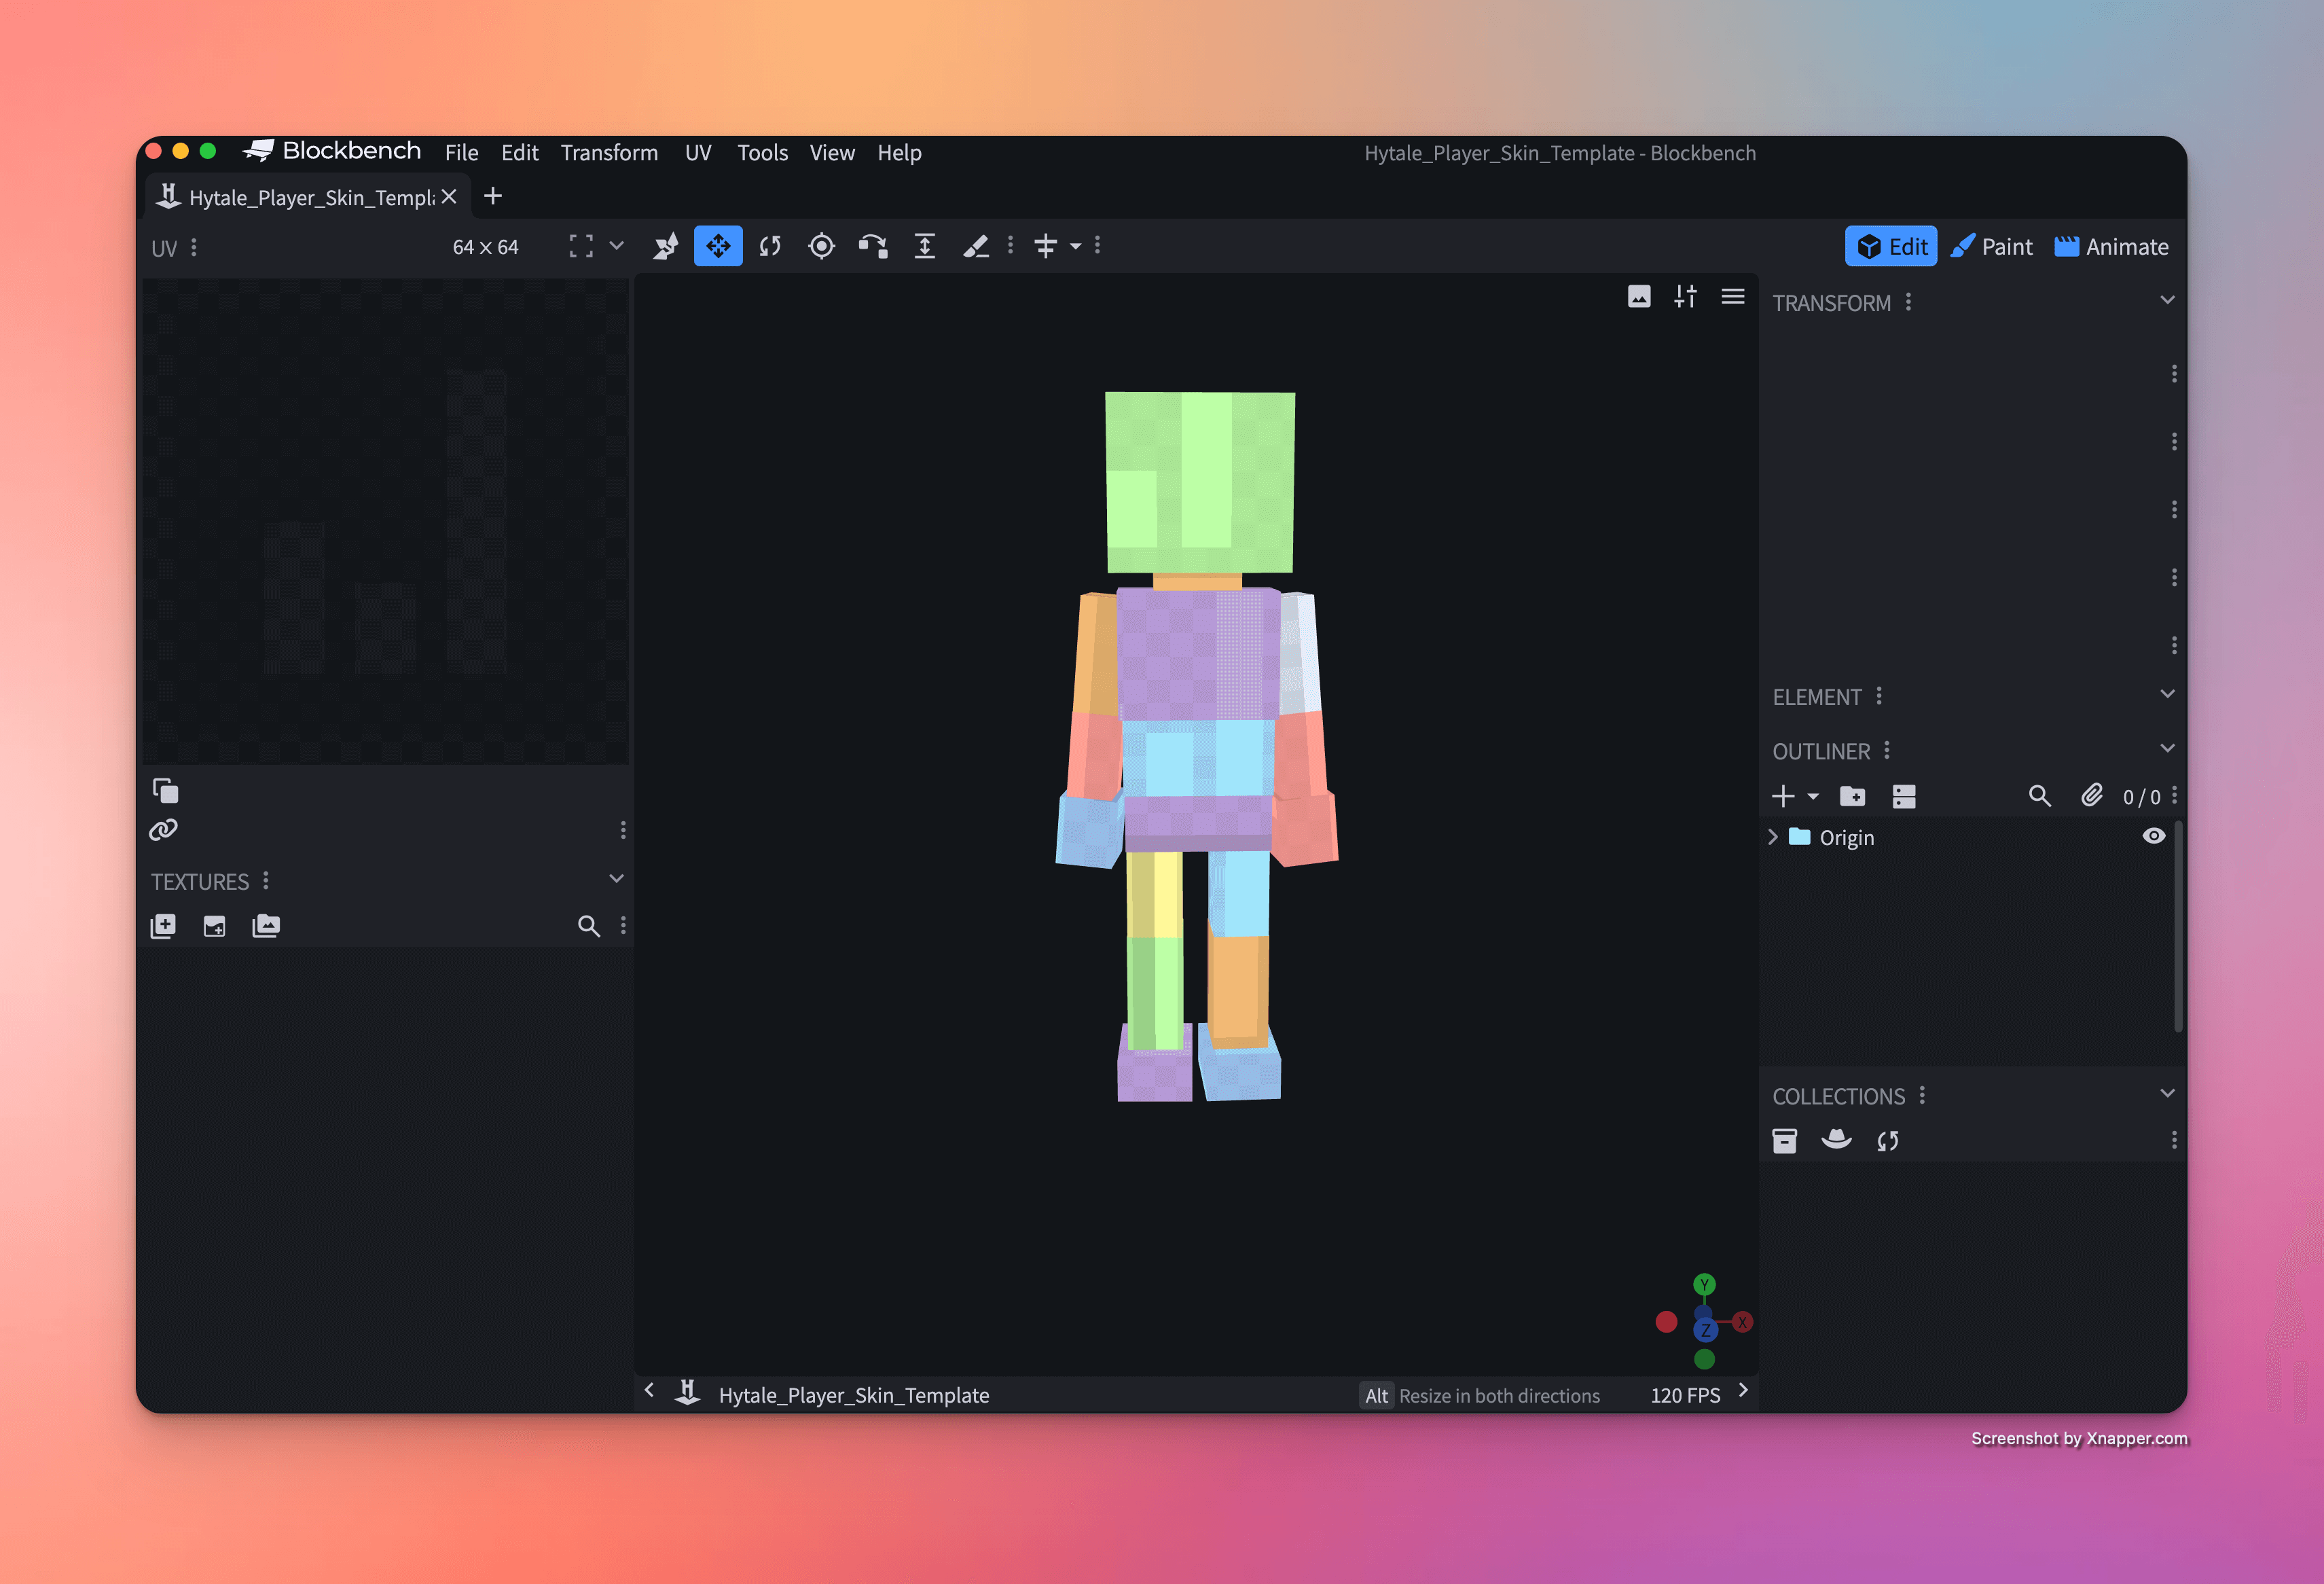
Step 3: Set Up Your Workspace with the Player Model
Now that your tools are ready, it's time to load the base player model. This template serves as the foundation for your custom skin and includes the correct proportions and UV mapping required for Hytale characters.
Load the model template and open it with Blockbench. The model will appear in your 3D viewport.
Import Your Texture Template
With the model loaded, you'll need to import a texture file to begin customization:
1. Locate the Textures panel on the left side of the interface 2. Click the (+) icon to add a new texture
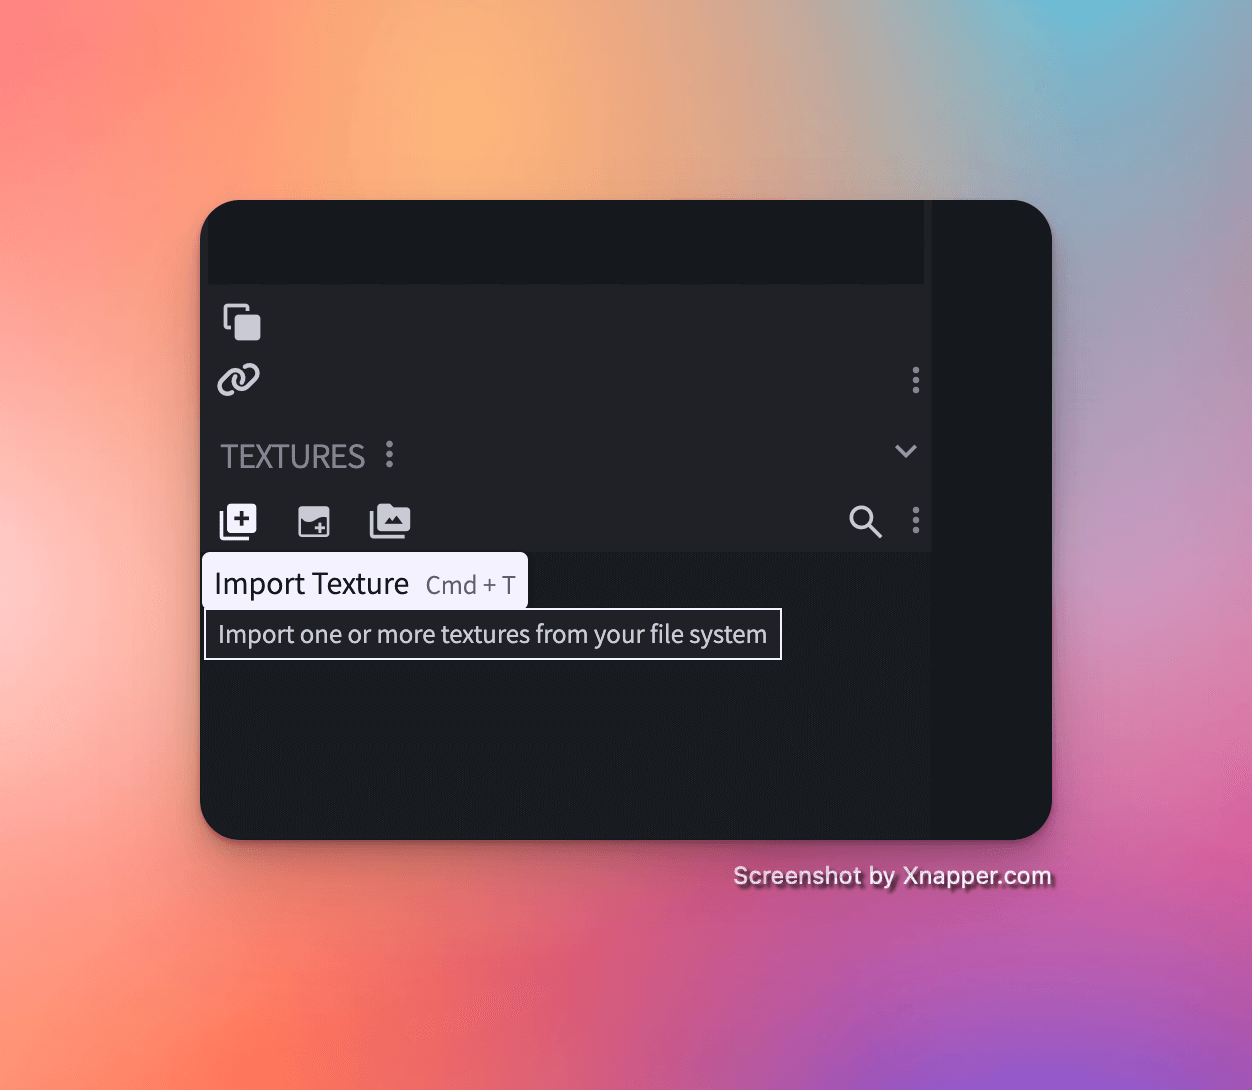
3. Download the hytale-skin-template-256-128px.png if you haven't already 4. Navigate to the downloaded file in your file browser and select it 5. Click Open to import
Once imported, the texture will automatically map onto your 3D model. You should see the template's layout appear on your character, showing exactly which areas of the texture correspond to which body parts.
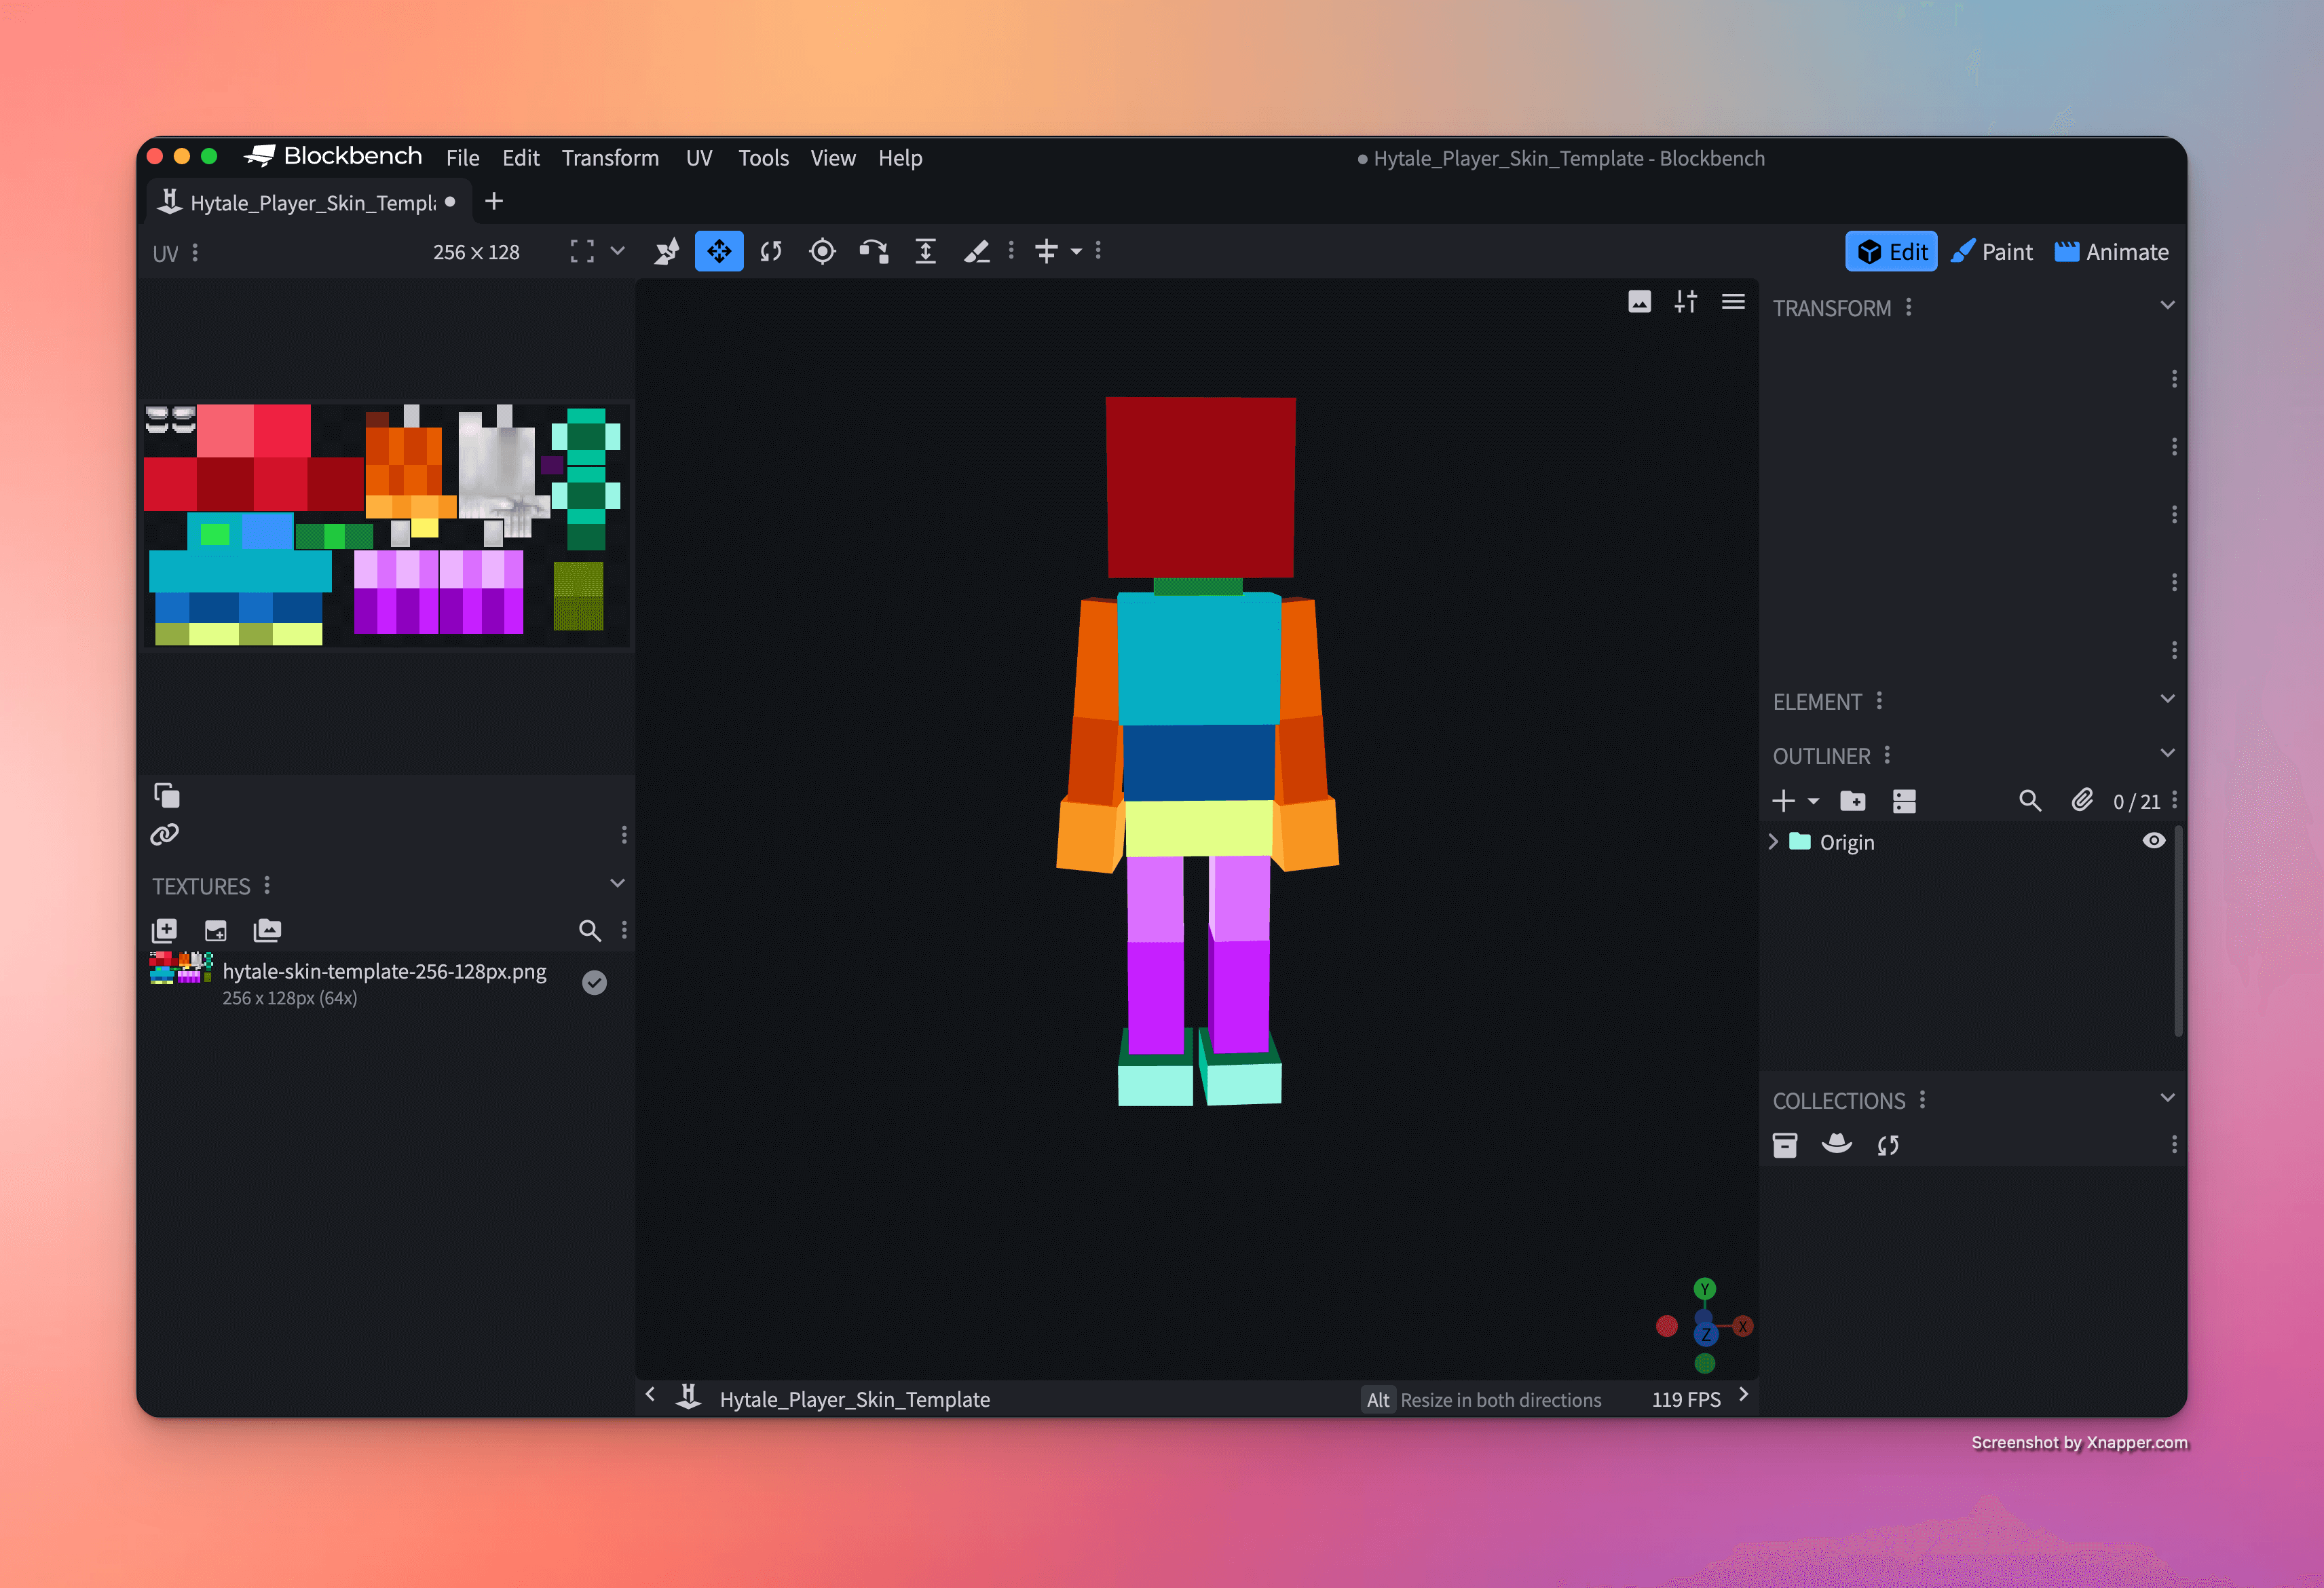
Understanding UV Mapping: The 256x128 pixel texture is carefully laid out so that different sections correspond to different parts of your character (head, torso, arms, legs). This is called UV mapping, and understanding it will help you create more precise designs.
Step 4: Customize Your Character with Paint Tools
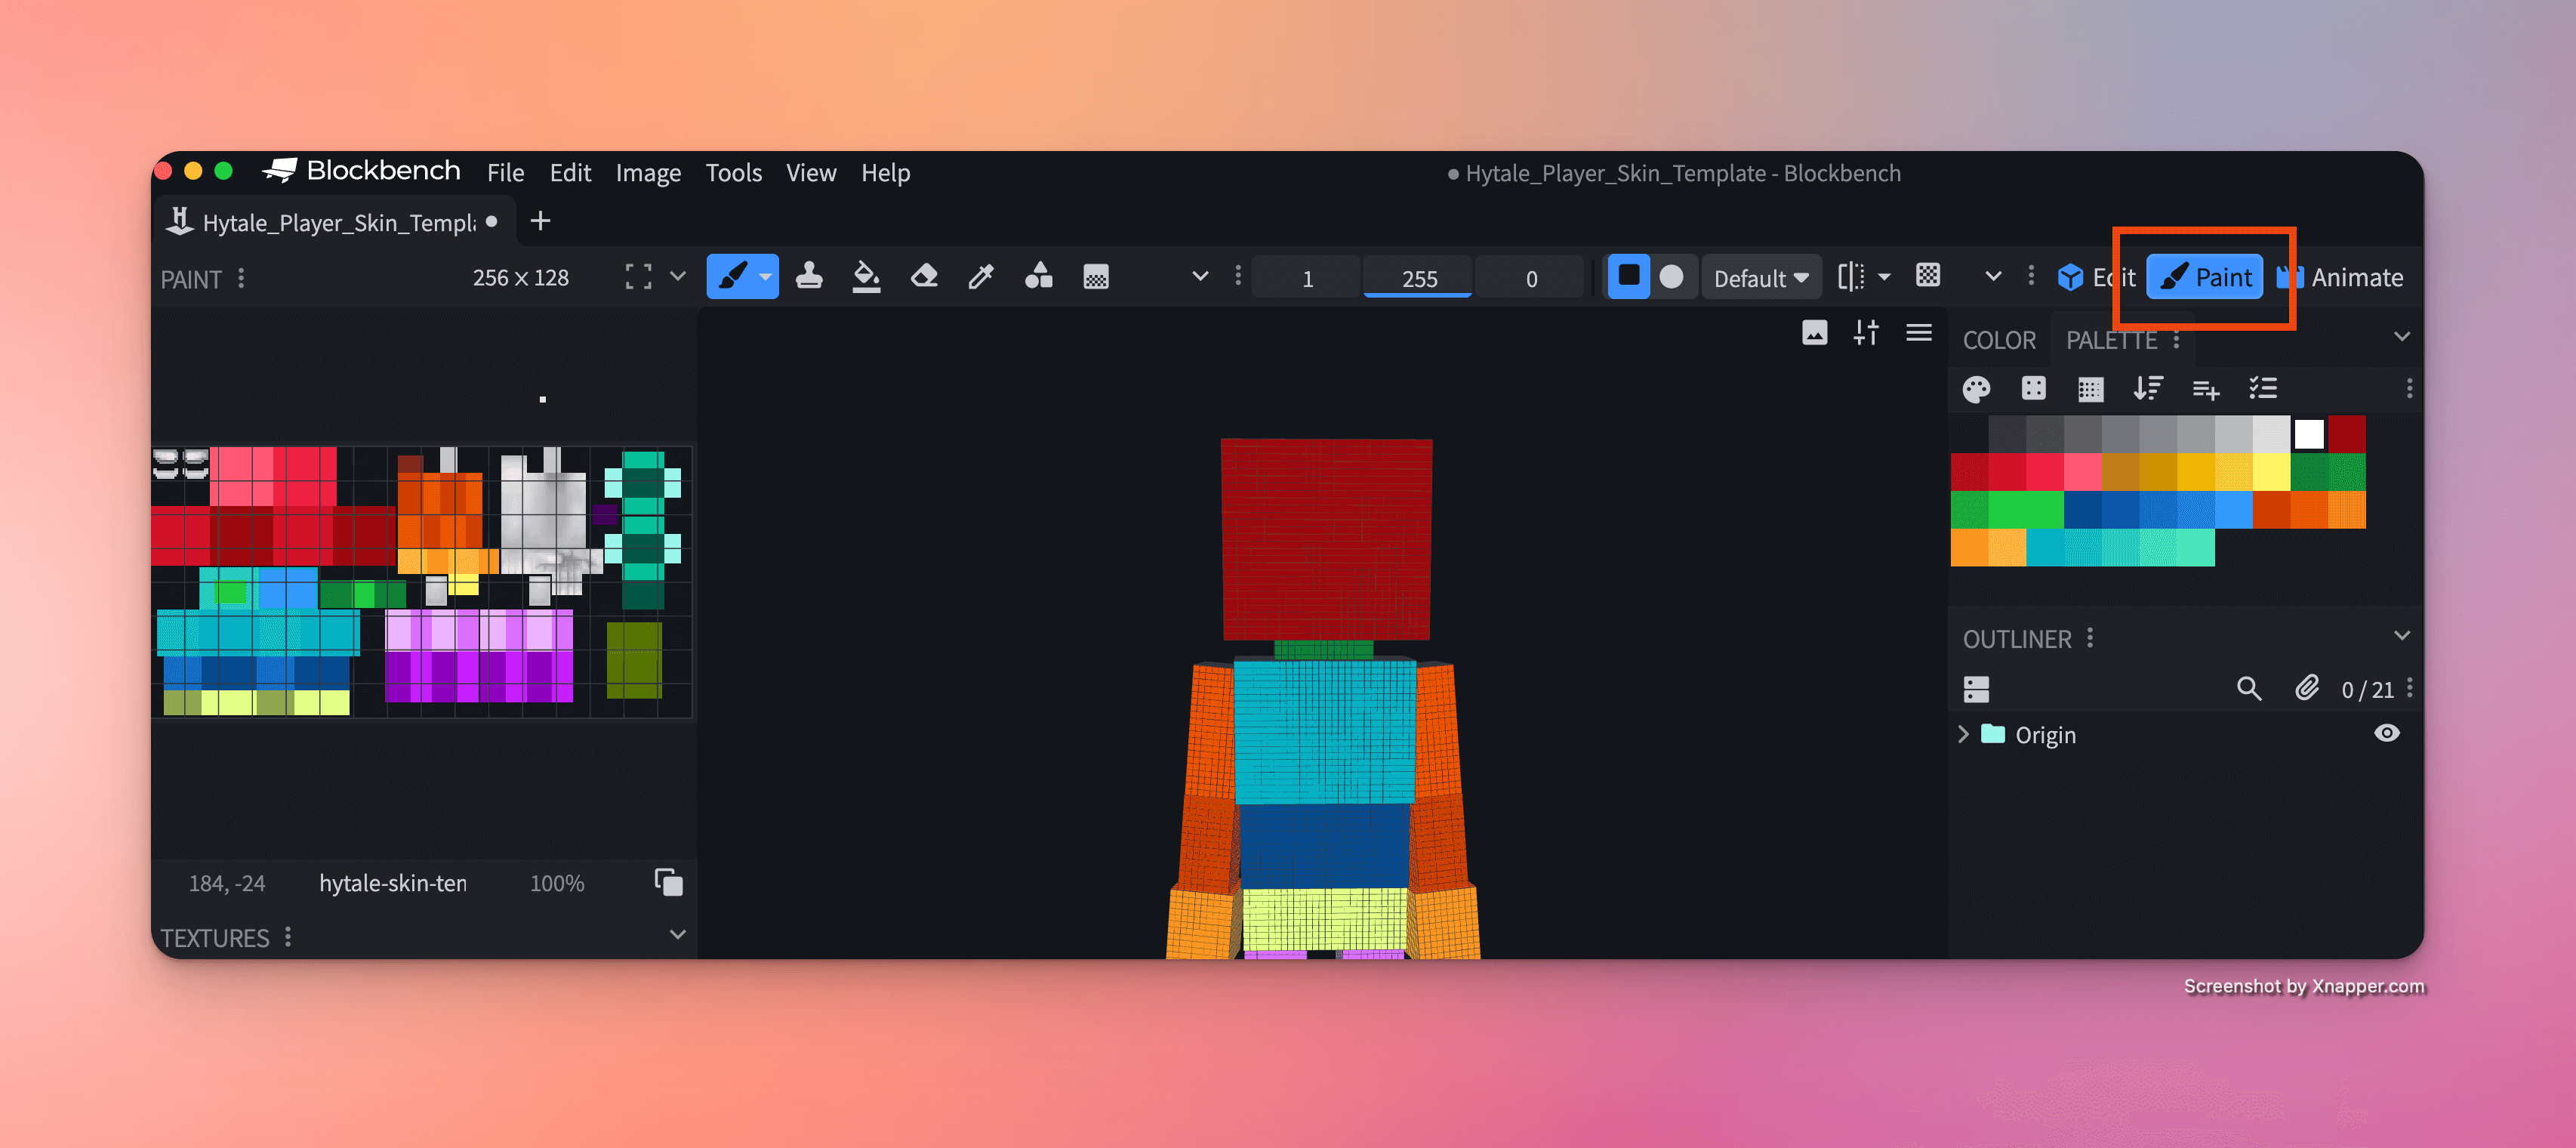
This is where your creativity comes to life. Blockbench's Paint mode offers intuitive tools to customize your character's appearance directly on the 3D model.
Activate Paint Mode by clicking the Paint tool in the top toolbar (or pressing P on your keyboard).
Painting Your Skin
The beauty of Blockbench's Paint mode is its real-time feedback. As you click and paint on different parts of your 3D model, the texture panel on the right updates automatically, showing you exactly how your changes translate to the UV map.
Best practices while painting:
- Work in layers of detail – Start with base colors for large areas (clothing, skin tone), then add shading and highlights, and finally add fine details like patterns or accessories
- Use the color picker – Right-click on existing colors in your texture to sample them, ensuring color consistency across your design
- Rotate your view frequently – Use your mouse to rotate the 3D model and check how your design looks from all angles
- Zoom in for precision – Detailed work like facial features or small patterns requires close-up precision
Note: While base skin customization is covered in this tutorial, Hytale also supports additional cosmetic attachments like different hairstyles, accessories, and facial features. We'll cover advanced customization in a future tutorial.
Step 5: Export Your Finished Skin
Once you're satisfied with your design, it's time to save your work and prepare it for use.
To export your texture:
1. Navigate to the Textures panel on the left 2. Find your edited texture in the list 3. Right-click on the texture thumbnail 4. Select Save As… from the context menu
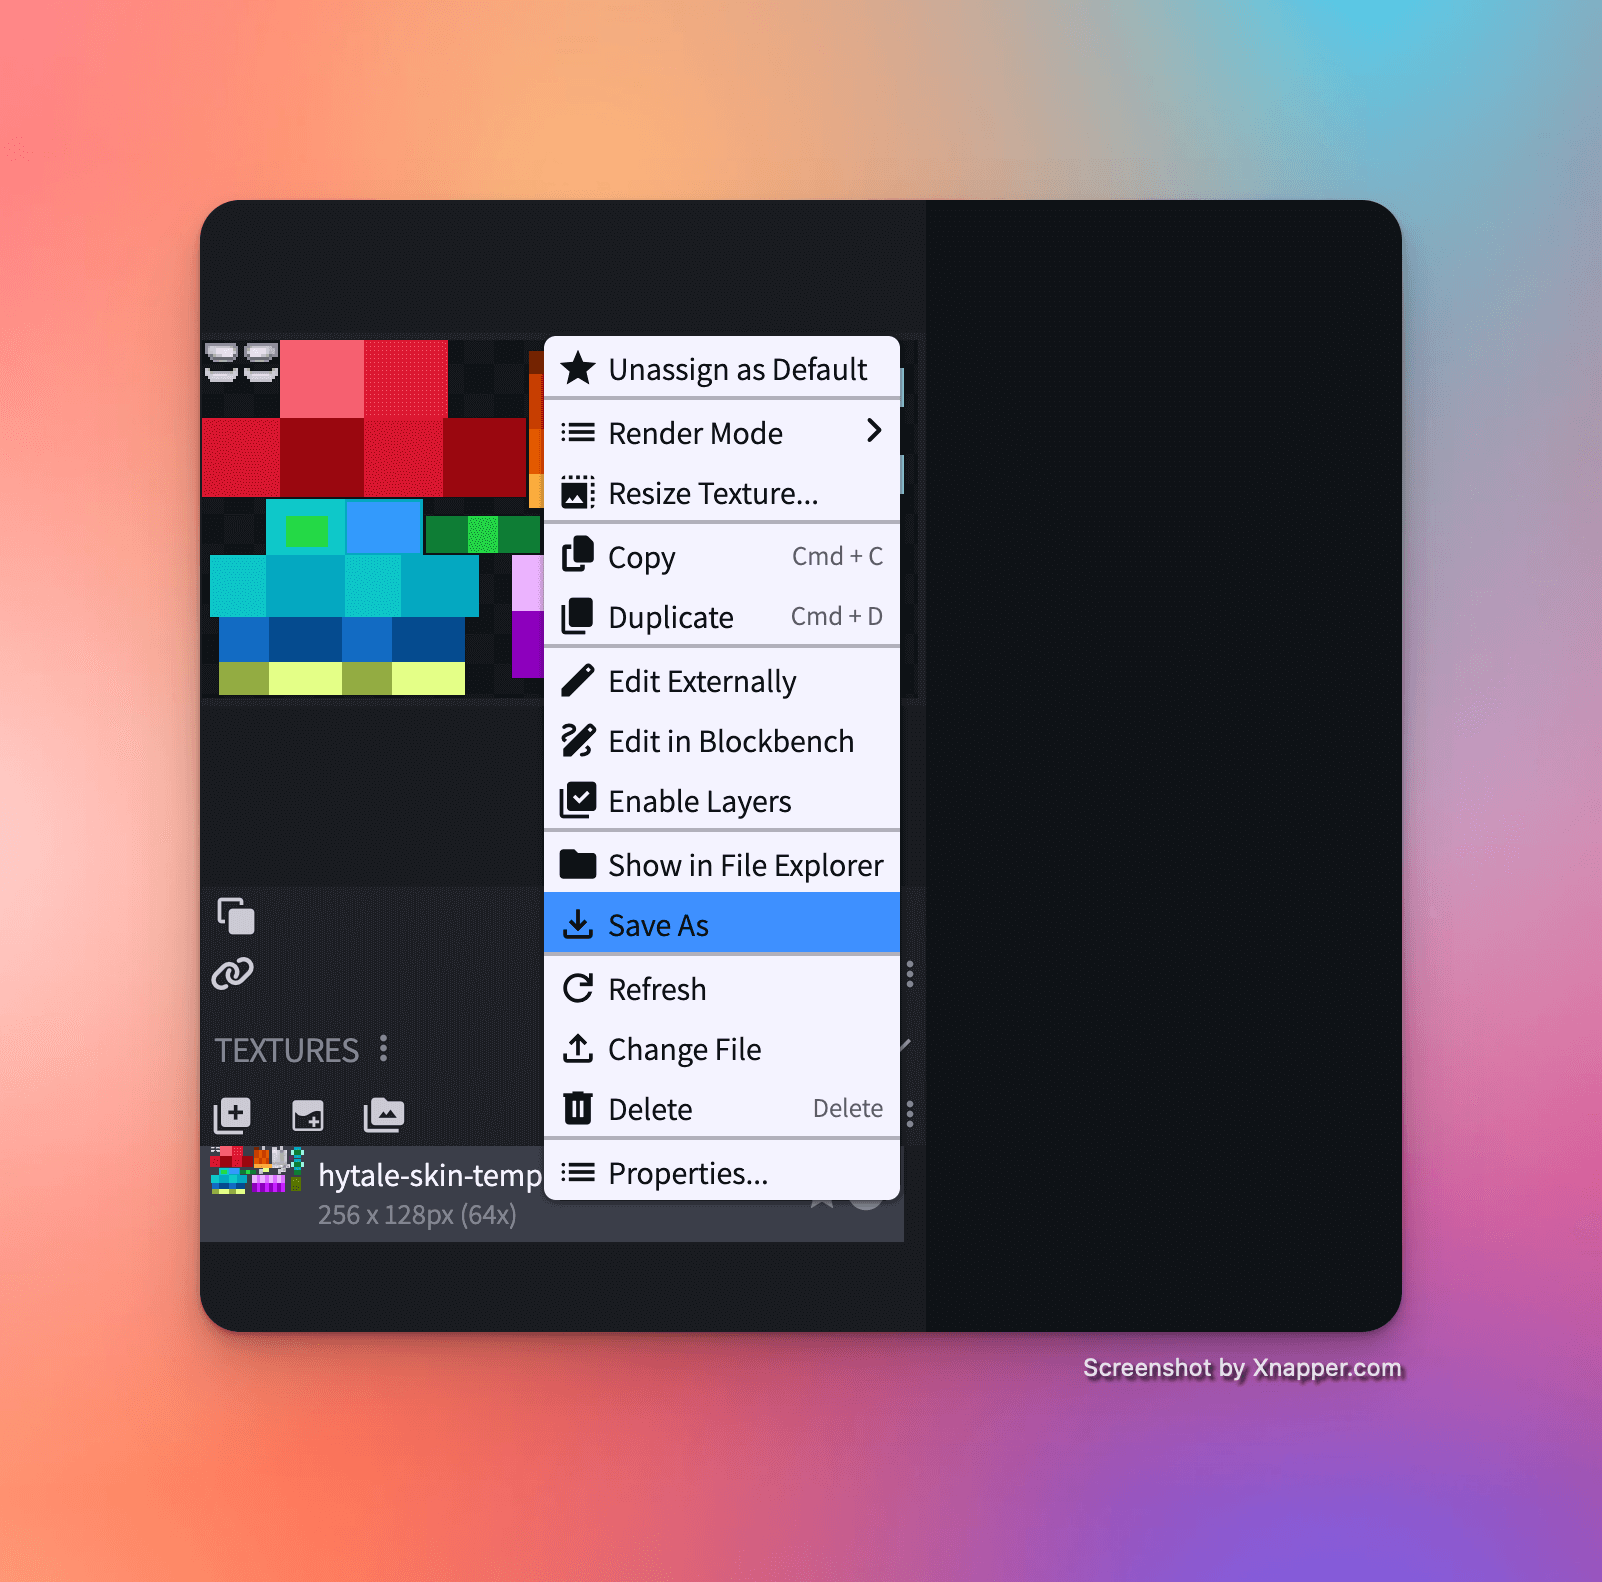
5. Choose a location on your computer and give your skin a descriptive name 6. Save the file as a .png format (256x128 resolution)
File naming tip: Use descriptive names like knight_armor_red.png or forest_ranger.png rather than generic names. This makes it easier to organize and share your creations later.
Step 6: Share Your Creation with the Community
Your custom skin is now ready to be shared with the world! Upload your 256x128px PNG file to HytaleSkins.net to showcase your work, get feedback from other creators, and inspire the community.
When uploading, consider adding:
- A clear title that describes your skin's theme
- Tags that help others find similar designs
- A brief description of your creative inspiration
- Multiple preview angles if possible
Coming Soon: We'll be publishing a detailed guide on how to import your custom skins directly into your Hytale client for in-game use. Stay tuned!
Final Thoughts
Creating custom Hytale skins is both an art and a craft. The tools are powerful, the community is welcoming, and the only limit is your imagination. Whether you're designing skins for personal use, sharing with friends, or building a portfolio of creative work, every skin you create helps you develop your skills.
Remember: every expert skin creator started exactly where you are now. Don't be discouraged if your first attempts aren't perfect—keep experimenting, learning, and most importantly, having fun!
Ready to create? Fire up Blockbench and start bringing your character concepts to life. We can't wait to see what you create!
---